

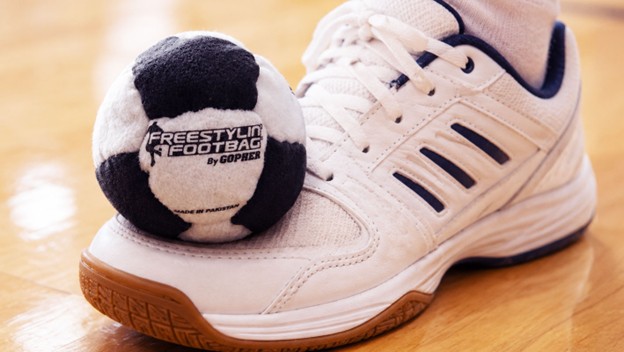
Footbag, often called hacky sack, is one of those simple activities that can do a lot in a PE setting. Students only need a small bag, a little space, and a clear challenge: keep it off the ground without using their hands. It is low cost, easy to store, and simple to adapt for different ages and skill levels. A kindergartner can start with a toss and catch, while an older student can work toward controlled kicks, stalls, and short freestyle combinations. This lesson guide covers the history of footbag, a K-12 skill progression with teaching cues and differentiation ideas, and small-group games you can use right away.
A Game With Deep Roots
The modern Hacky Sack story began in 1972 in Oregon City, Oregon, when John Stalberger and Mike Marshall started kicking around a homemade beanbag. Marshall had learned a foot-juggling game during his time in the military, and Stalberger, who was recovering from a knee injury, noticed that the movement helped him rebuild strength and coordination. When they wanted to play, they would say, “Let’s go hack the sack,” and the name stuck.
Over the next few years, they experimented with different shapes, materials, and fillings. Early versions used items such as rice or seeds, but those did not hold up well when wet. They eventually developed a round leather design filled with plastic pellets and filed a patent in 1974. By the late 1970s and early 1980s, Hacky Sack had spread through schools, parks, campuses, and community spaces.
The idea behind footbag is much older than the 1970s. Kicking and foot-juggling games have appeared in many cultures, including cuju in ancient China, jianzi in China and Vietnam, sepak takraw in Southeast Asia, and other traditional foot games. That makes footbag a useful entry point for a global games unit. Students can compare equipment, rules, movement patterns, and cultural connections while practicing balance, tracking, coordination, and cooperation.
Building the Skill: A K-12 Trick Progression
The progression below moves from basic object control to more advanced footbag combinations. Grade bands are a helpful starting point, but students should move forward based on readiness. Use the easier and harder options to adjust the challenge without changing the whole lesson.
| Grade Band | Focus Trick(s) | Big Idea |
| K-2 | Catch and Control, The Clipper | Build soft control with the whole foot while using the hands as a safety net. |
| 3-5 | Toe Stall, Knee Bump | Balance the bag on one body part before moving it to the next. |
| 6-8 | Around the World, Inside-Foot Circle | Add rotation, rhythm, and body control as the bag keeps moving. |
| 9-12 | Pendulum Clip, Combo Stringing | Chain tricks together for freestyle-style routines. |
1. Catch and Control (K-2)
How to Teach It: Begin with object tracking before asking students to use their feet. Students toss the sack a few inches above one open palm, let it drop, and catch it with two hands before it reaches the floor. This gives younger students a safe way to practice watching the bag and adjusting their hands.
Teaching Cues:
- Eyes on the bag the whole time.
- Soft hands: catch it like an egg.
- Small toss, not a big throw.
Make It Easier: Use a larger, lighter sack (or a balloon) and let students catch it against their chest.
Make It Harder: Add a clap between the toss and the catch, or switch to catching with one hand only.
2. The Clipper (Inside-Foot Kick) (K-2 to 3-5)
How to Teach It: Have students start seated or standing with the sack in their hands. They drop it gently toward the inside of one foot, pop it a few inches into the air, and catch it. This inside-foot kick becomes the foundation for many footbag skills, so the goal is control rather than height.
Teaching Cues:
- Toe up, ankle locked.
- Use a small pop instead of a big kick.
- Watch the bag land back in your hands.
Make It Easier: Allow a partner to drop it directly onto the foot.
Make It Harder: Kick to a partner instead of catching it yourself or require two clips in a row before the catch.
3. Toe Stall (3-5)
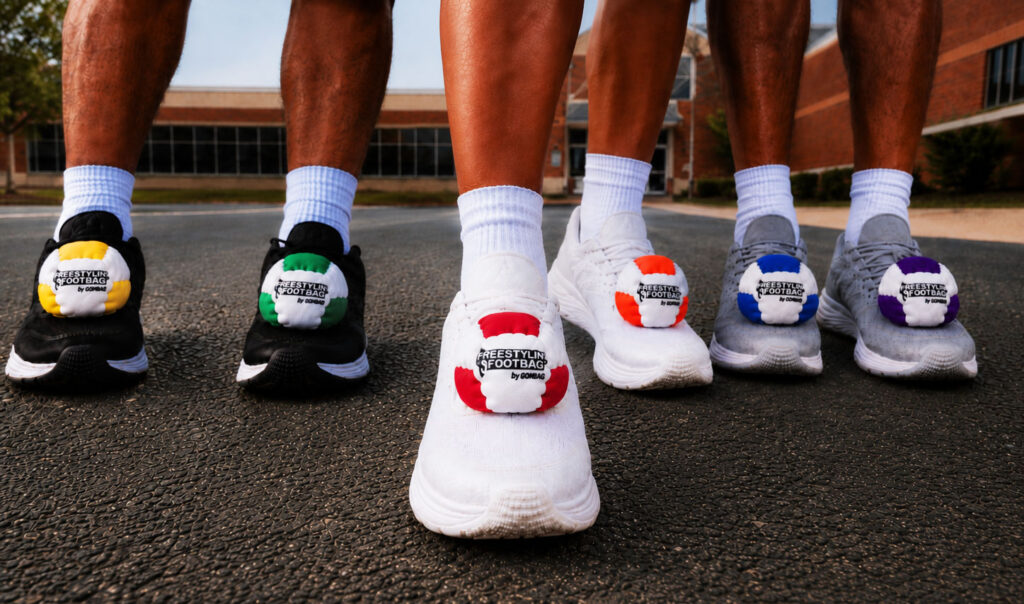
How to Teach It: Students balance the sack on the top of the foot, near the shoelaces, and hold it still for a count of three before lifting it back up. Demonstrate slowly first. Students should see that the foot creates a flat surface and the knee absorbs the landing.
Teaching Cues:
- Flat foot: make a small shelf with your shoelaces.
- Soft knee to cushion the landing.
- Freeze the bag instead of chasing it.
Make It Easier: Allow the sack to rest on the foot while the foot rests on the floor (no balancing required yet).
Make It Harder: Stall it, then step forward or turn a quarter-turn before flicking it back up.
4. Knee Bump (3-5 to 6-8)
How to Teach It: Students drop the sack and use the top of the knee to bump it straight up, then catch it with their hands. The knee gives students a larger striking surface and helps them understand how to control force and direction.
Teaching Cues:
- Lift the knee to meet the bag instead of waiting for it to fall.
- Bump, don’t slap.
- Keep the bump straight up, not out to the side.
Make It Easier: Have a partner toss the sack gently toward the knee so the student can focus on the contact point.
Make It Harder: String two knee bumps together, or alternate knees each bump.
5. Around the World (6-8)
How to Teach It: After a controlled inside-foot kick, the kicking leg circles around the bag while it is in the air. The student then catches the bag or tries another controlled kick as it comes down. This trick connects striking, timing, balance, and spatial awareness.
Teaching Cues:
- Small kick, big circle.
- Keep your eyes up, not on your feet.
- Land softly and be ready for the next move.
Make It Easier: Break it into two steps: kick and catch first, then practice the leg circle separately with no bag before combining them.
Make It Harder: Add a full circle instead of a half-circle, or chain it directly into a toe stall.
6. Pendulum Clip and Combo Stringing (9-12)
How to Teach It: Students alternate inside-foot clips between the left and right foot in a steady rhythm, similar to a pendulum. Once they can control the rhythm, challenge them to link three or more skills, such as a clip, toe stall, knee bump, and around the world, into a short routine.
Teaching Cues:
- Steady rhythm, not speed.
- Weight shifts foot to foot like a metronome.
- Plan your combo before you start, then call out each trick as you land it.
Make It Easier: Allow a hand-catch reset between each trick in the combo instead of a continuous string.
Make It Harder: Set a minimum combo length (e.g., 5 tricks, no drops) or run it as a timed freestyle challenge.
Small-Group Games to Play
Once students can complete a few basic skills, these games help them apply control, communication, and teamwork in small groups.
Hack Circle
Group Size: 4-8 students per circle
How to Play: Students stand in a circle and try to keep the sack airborne using feet, knees, and chests. Hands are not used once play begins. If every player touches the bag before it hits the ground, the group scores a “hack.” Keep a group record so students can see their progress over time.
Differentiation Tip: Allow a hand-catch reset between kicks for beginners. For advanced groups, require a specific skill, such as a toe stall, before passing to another student.
Footbag Golf
Group Size: Partners or groups of 3-4
How to Play: Set up six to nine targets around the gym or field using cones, hoops, or buckets. Students kick the sack toward each target in as few kicks as possible and record their score like a golf scorecard. Rotate small groups through the course.
Differentiation Tip: Move targets closer or make them larger for younger students and beginners. For older or more skilled students, add obstacles or set a maximum height for each kick.
Sack Attack Relay
Group Size: Teams of 3-5
How to Play: Teams line up relay-style. Each student completes a designated skill, such as a clipper, toe stall, or knee bump, before tagging the next teammate. The first team to complete the line wins, or you can run it as a personal-best challenge.
Differentiation Tip: For younger students or beginners, use a catch-and-toss task. For older or more skilled students, require a two-skill combo before tagging the next teammate.
Footbag Net (Line Volley)
Group Size: 2 vs. 2 or 3 vs. 3
How to Play: Create a low line with cones, a jump rope, or a badminton net. Teams volley the sack back and forth using feet, knees, and chests only. The goal is to send the sack over the line and make it land on the other team’s side. Play to a set point total.
Differentiation Tip: Lower the line for beginners. For advanced players, raise the line or limit the number of touches per side, similar to volleyball.
Circle of Tricks
Group Size: 5-10 students
How to Play: Students stand in a circle. One student steps into the middle, performs a skill, and passes the sack to the next person. The group can count successful attempts or call out the skill name. This works well as a warm-up, closure activity, or quick check for skill growth.
Differentiation Tip: Let students choose any trick they feel confident with or assign specific tricks by grade-level expectation to keep the challenge appropriate.
Why Hacky Sack Belongs in Your PE Program
- Low cost, high value: One sack per student or pair is enough to get started. You do not need nets, goals, or a large setup area.
- Easy to differentiate: The same activity can work for a beginner using a hand-catch reset and an advanced student building a freestyle routine. That makes it useful for mixed-ability classes and adapted PE settings.
- Whole-body coordination: Students practice tracking, balance, bilateral movement, foot-eye coordination, and body control in a way that feels playful.
- Strong global games connection: Connecting footbag with games such as jianzi, sepak takraw, and cuju helps students see how similar movement ideas show up across cultures.
Final Thoughts
Footbag has lasted because it gives students a quick win while still offering room to grow. It is simple enough to introduce in one class period, but rich enough to support progressions, partner challenges, small-group games, and global games connections. Start with one basic skill, give students time to practice, and then add a game once they have enough control to keep the activity moving.
References and Resources
- History.com. Who Invented the Hacky Sack? Retrieved from: https://www.history.com/articles/hacky-sack-invention
- World Footbag Association. About Footbag. Retrieved from: https://worldfootbag.com/about-footbag/
- Footbag Hall of Fame. John Stalberger. Retrieved from: https://www.footbaghalloffame.net/our-members/john-stalberger
- Wham-O. 50 Years of Kicks: The Story of Hacky Sack. Retrieved from: https://wham-o.com/blogs/news/50-years-of-kicks-the-story-of-hacky-sack
- Wikipedia. Hacky Sack. Retrieved from: https://en.wikipedia.org/wiki/Hacky_sack